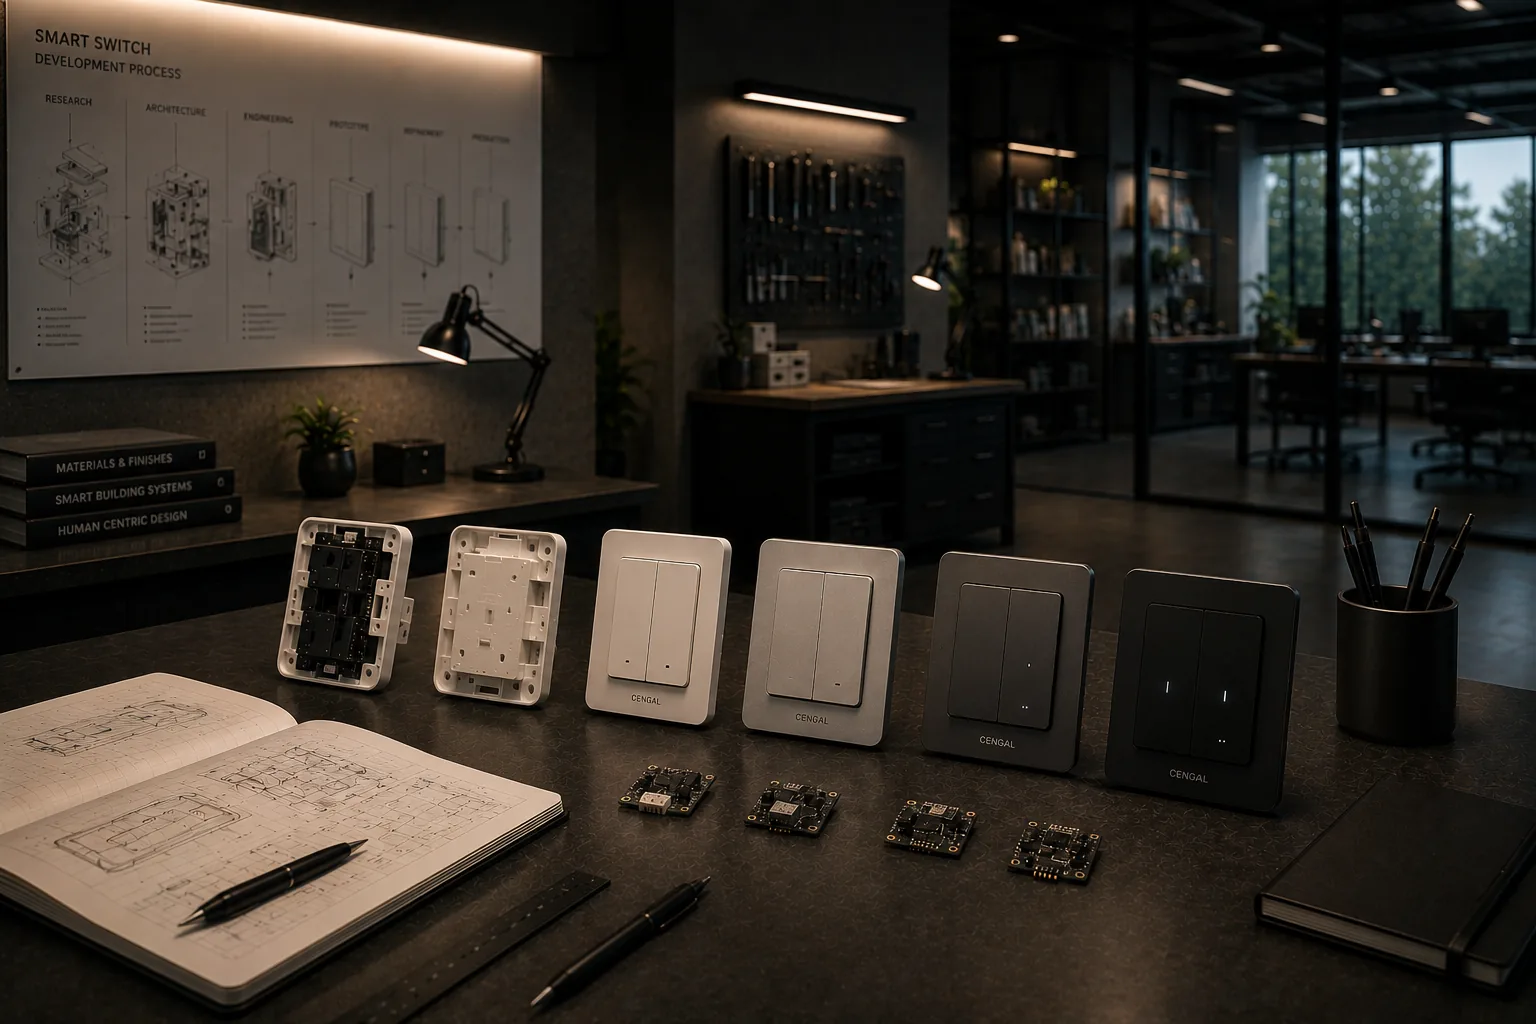
A prototype proves that an idea can exist. Production has to prove that the same idea can be made repeatedly, inspected consistently, packed safely, and delivered at a workable cost.
Problems appear when teams treat the approved prototype as the end of development. In reality, it is one checkpoint in a controlled handover from design intent to manufacturing reality.
The following seven stages keep decisions visible and reduce expensive surprises after tooling or volume production begins.
1. Turn the idea into a product brief
Begin with the problem the product must solve and the conditions in which it will be used. Define the user, core function, target dimensions, materials, finish, expected lifespan, packaging needs, target price, and intended market.
Separate requirements into three groups:
- Essential: the product fails without them
- Important: they materially affect value or usability
- Preferred: useful options that can change if cost or feasibility demands it
This ranking helps the team make trade-offs without accidentally removing the reason the product exists.
2. Review the design for manufacturing
A design can look complete in a rendering and still be difficult to make. Review geometry, tolerances, material availability, assembly steps, finish, tooling, and inspection access with the manufacturing process in mind.
Ask practical questions early:
- Can standard materials or components achieve the same result?
- Which dimensions actually need a tight tolerance?
- Can parts be assembled in the wrong orientation?
- Which surfaces are cosmetic and which are hidden?
- How will a factory measure the critical features?
The goal is not to simplify the product at any cost. It is to spend complexity where the customer will notice it.
3. Build a prototype for the current question
Not every prototype needs to look like the final product. Choose the method according to what you need to learn.
An appearance model can test form and proportion. A functional prototype can test movement, fit, or performance. An engineering sample can test materials and production methods. Trying to answer every question with one early sample often creates unnecessary time and cost.
Document the purpose of each prototype and every known difference from the intended production version.
4. Test, learn, and close decisions
Create a validation plan before reviewing the sample. Include functional tests, dimensions, assembly, ergonomics, appearance, packaging interaction, and foreseeable misuse where relevant.
Record each finding with an owner and a decision:
- Accept as designed
- Revise and retest
- Accept with a documented limitation
- Remove from scope
Avoid feedback such as “make it more premium” or “the fit feels wrong.” Translate it into a visible change, measurable requirement, or approved reference.
5. Freeze the production specification
Once the design is validated, collect the final decisions into one controlled specification. Depending on the product, that may include:
- Drawings and tolerances
- Bill of materials
- Colour, texture, and finish references
- Approved components and suppliers
- Assembly requirements
- Functional tests and acceptance criteria
- Product markings, labels, and artwork
- Retail and export packaging
Keep an approved physical sample when practical. It gives the factory and inspector a shared visual reference, but it should support the written specification rather than replace it.
6. Run a pilot before scaling
A pilot run tests more than the product. It tests the production line, work instructions, tooling, material flow, inspection method, packing process, and time assumptions.
Review variation across the run instead of inspecting only the best units. Track defects by type and process step, then confirm corrective action before authorising a larger quantity.
The pilot is also the right moment to verify carton configuration, shipping marks, weights, and the condition of the packed product after realistic handling.
7. Scale with change control
Volume production should begin from an approved baseline. Materials, components, tooling, process settings, sub-suppliers, and artwork should not change silently after approval.
Create a simple written change process:
- Describe the proposed change and reason
- Identify the effect on quality, cost, lead time, and compliance
- Review a sample or evidence where necessary
- Approve or reject in writing
- Update the controlled documents
This protects both sides. The buyer can understand what is changing, and the manufacturer has a clear record of what is authorised.
The handover package
Before repeat production, confirm that the team can answer four questions without relying on memory:
- What exactly are we making?
- How do we know a unit is acceptable?
- Which version of every file is current?
- Who can approve a change?
Production readiness is not the moment a prototype looks right. It is the moment the result can be repeated without the original designer standing beside the line.
A disciplined process may feel slower during early development. It becomes much faster when the alternative is reworking tooling, sorting finished goods, or debating requirements after the order is complete.